.jpeg)
Concrete forms are essential for shaping and supporting poured concrete until it sets and gains sufficient strength. Properly constructed forms contribute to the longevity, stability, and overall quality of concrete structures. In this guide, we will walk you through the step-by-step process of building durable concrete forms that ensure structural integrity and efficiency.
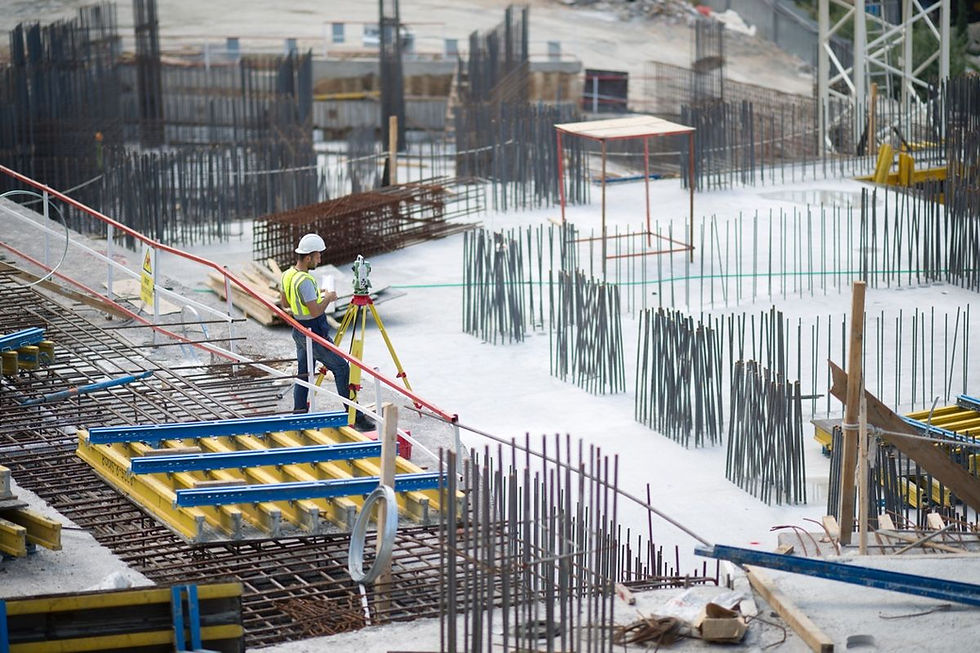
Step 1: Plan and Prepare the Site
Assess the Project Requirements
Before starting, determine the type, size, and shape of the concrete structure you are forming. Consider factors such as:
Load-bearing requirements
Environmental conditions
The type of concrete mix to be used
The required strength and durability of the final structure
Potential challenges such as uneven terrain or existing obstructions
Gather Necessary Materials and Tools
Ensure you have the following items ready:
Materials: Plywood, lumber, stakes, nails, screws, and form release agents
Tools: Measuring tape, level, hammer, saw, drill, and clamps
Safety Gear: Gloves, safety glasses, and work boots
Additional Reinforcement Materials: Steel bars, rebar ties, or fiber reinforcement if needed
Mark the Layout
Use measuring tools to mark the exact dimensions of the form on the ground. Drive stakes into the ground at key points to outline the perimeter. Use a chalk line or spray paint to provide a visual guide.
Step 2: Construct the Formwork
Choose the Right Material
Plywood: Ideal for smooth finishes and reusable forms
Lumber: Suitable for heavy-duty applications
Metal Forms: Best for repeated use in commercial projects
Plastic Forms: Lightweight, durable, and resistant to water damage
Cut and Assemble the Form Panels
1. Cut the plywood or lumber to the required dimensions.
2. Fasten the panels together using nails or screws.
3. Reinforce corners and joints with braces to maintain shape and stability.
4. Ensure the edges are tightly joined to prevent leakage of concrete slurry.
Secure the Forms in Place
Position the assembled panels along the marked layout.
Drive stakes or rebar supports into the ground to hold the forms in place.
Use cross braces to prevent bowing under concrete pressure.
Verify that the forms are level and square to prevent structural deformities.
Step 3: Apply Form Release Agent
Before pouring concrete, apply a release agent to the inside of the forms. This prevents the concrete from sticking to the formwork, making removal easier and preserving the integrity of the forms for reuse.
Types of Release Agents:
Oil-based: Effective but can leave residue
Water-based: Eco-friendly and less hazardous
Silicone-based: Provides a smooth finish and minimizes form damage
Step 4: Pour and Compact the Concrete
Pouring the Concrete
Pour the concrete mix evenly into the form, ensuring it reaches all corners.
Use shovels or rakes to distribute the concrete as needed.
Monitor the pour rate to prevent segregation or displacement of reinforcement.
Vibrate and Level the Concrete
Use a concrete vibrator or tamper to remove air pockets and ensure proper compaction.
Smooth the surface using a screed board and a trowel.
If necessary, apply surface treatments such as float finishing or broom finishing for added texture.

Step 5: Allow Proper Curing Time
Curing is crucial for achieving maximum strength and durability. Follow these best practices:
Keep the concrete covered with plastic sheeting to retain moisture.
Allow it to cure for at least 7 days before removing the forms.
Avoid excessive water exposure that could weaken the structure.
Use curing compounds or damp burlap to maintain consistent moisture levels.
Step 6: Remove the Forms Safely
Check for Readiness
Ensure the concrete has hardened sufficiently before removing the forms. Test the edges for strength and resistance.
Carefully Dismantle the Forms
Remove screws or nails securing the panels.
Gently pull the panels away from the concrete surface.
Avoid forceful removal to prevent damaging the edges.
Inspect the forms for wear and tear to determine reusability.
Step 7: Inspect and Finish the Concrete
After form removal, inspect the concrete for:
Cracks or imperfections
Surface irregularities requiring further finishing
Voids or honeycombing that may require patching
If necessary, use grinding or patching techniques to achieve the desired finish. Apply sealants or coatings to enhance durability and weather resistance.
Best Practices for Long-Lasting Concrete Forms
Want better results? Here are some best practices that would be used by an experienced concrete forming contractor:
Use high-quality materials to extend the lifespan of formwork.
Ensure forms are properly aligned to avoid uneven concrete placement.
Reinforce the forms adequately to prevent deformation under pressure.
Clean and store reusable forms properly for future projects.
Regularly inspect forms for wear and replace damaged sections promptly.
Advanced Forming Techniques for Greater Efficiency
Modular and Prefabricated Forms
Prefabricated formwork systems reduce labor costs and improve consistency. These include:
Steel or aluminum form panels
Plastic modular forms for quick assembly
Reusable insulated forms for energy-efficient buildings
Adjustable and Reusable Formwork
For projects requiring flexibility, adjustable form systems allow for easy resizing and adaptation.
Digital and 3D-Printed Formwork
Advancements in technology now allow for:
Digital modeling to optimize form design
3D-printed molds for unique shapes and architectural features

Build with Confidence Using True North Forming
At True North Forming, we specialize in precision concrete forming that meets the highest industry standards. Whether you’re working on a residential foundation or a large-scale commercial project, our expertise ensures durable, high-quality results.
By following the best practices and advanced techniques outlined in this guide, you can build durable concrete forms that contribute to a stronger and more efficient construction process.
Contact us today to learn more about our concrete forming solutions and how we can help bring your project to life!
Comments